The inflation pressure in the tyres of a trial bike plays a decisive role in the performance of the bike and the sensations of the rider at its controls. With a simple operation that lasts a couple of minutes we will achieve more technical efficiency and, in the long run, economic savings by making better use of the durability of the tyre.
When someone sees a trial bike
for the first time, one of the comments is usually “if it looks like the rear wheel is punctured”. And that’s not the case. It simply carries optimal pressure to achieve maximum grip and provide more stability to the rider.

Before we get into the right pressures, let’s analyze “ false myths” and reason out the answers.
False Myths About Trial Tyres
> If I carry more pressure, I avoid punctures. It’s false. First of all, excessive pressure prevents the tyre from deforming and comfortably absorbs the irregularities of the ground, allowing all the weight to rest at the same point and consequently favouring the puncture. In addition, it prevents the rear shock from working as it should. Success is the tuning between the absorption of the shock absorber and the tire. The key to avoiding a puncture is that the wheel is too low on pressure and that the sidewalls deform excessively.
> For excursions it is better to turn up the pressure. It’s partially true. We can raise the pressure between 50 and 100 grams at most, no more. Excessive pressure will generate more bouncing from the rear end or lack of poise at the front, as well as irregular tire wear, as it will rest mostly on its central part and will not work the side knobs.

> The less pressure, the more grip. It’s false. The pressure has to be optimal. Below 300 grams it is easier to puncture, in addition to the tire will deform excessively, causing strange reactions. We will also lose stability and notice that the overall reactions of the bike are slower.
> Rear trial wheel with tube. It’s not recommended at all. All rear wheels are tubeless and tubeless. This has been the case on all trial bikes since the mid-80s. There are times when the rear wheel loses air and we don’t find the puncture. Normally in these cases it is because the inner “flap” (a black tape that covers the inside of the tire) has an opening and there is air leaking. His thing is to replace it.
The fact of incorporating a tube generates two big problems: first, that the absorption and grip is not the same as tubeless, and the second that it forces us to mount a “tyre brake” by drilling the rims, therefore making it useless to return to being a “tubeless” rim.

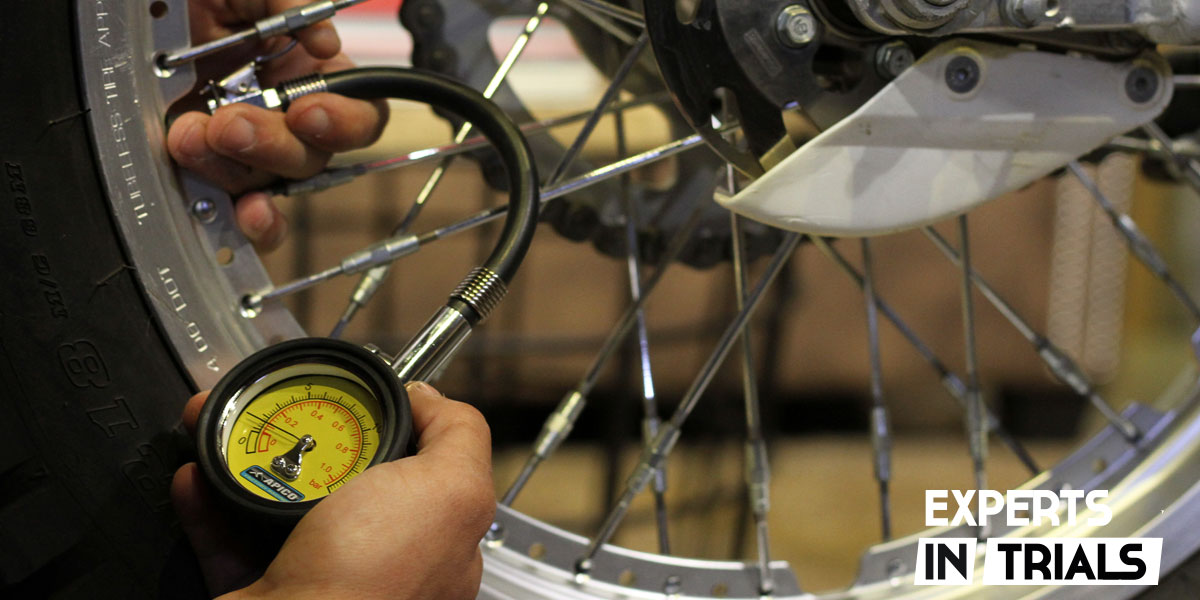
Checking Pressure on the Trial Bike
The first thing we need to do is have a
trial pressure gauge
. The particularity is that they measure the pressure up to a kilo maximum, providing more precision in data collection. There are also
pressure gauges for enduro bikes
, which measure up to two kilos. They are also good for us.
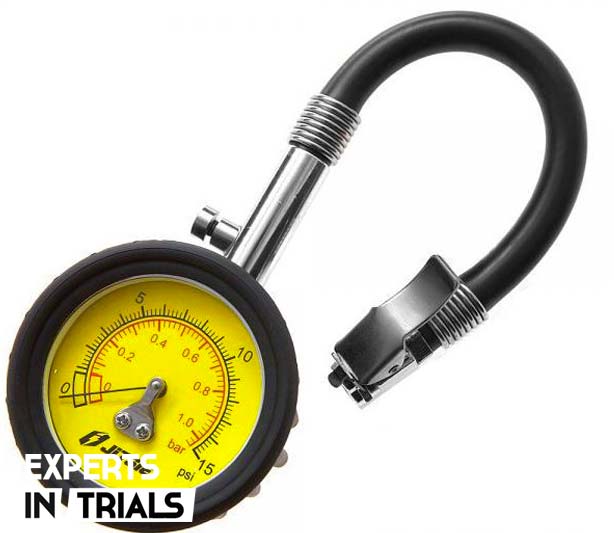

Those who measure more pressure have the disadvantage that the measurement section on a trial bike (up to 500 grams) is very difficult to measure accurately. Our recommendation is to always use analogue pressure gauges, not digital ones.
1.- We always check the pressure of both tires before each ride. As it carries very little pressure, the slightest oscillation already causes the pressure to be incorrect.
2.- Front tyre pressure on the trial bike: 450 grams. This pressure can range from 50 grams up (500 grams) for excursions or heavy pilots. And the opposite for children or pilots with very little weight (400 grams).
3.- Rear tyre pressure on the trial bike: 300 grams. This pressure can range from 50 grams up (350 grams) for excursions or heavy pilots. And the opposite for children or pilots with very little weight (200 grams).
4.- For very demanding riding, we recommend measuring the pressure 60 minutes after starting to ride, because when it gets hot, the pressure will rise a few grams and it is advisable to adjust.
About trial tyres
There are several options on the market for tyres for trial bikes
, although our recommendation is to concentrate the decision between the Michelin X11 (the classic trial tyre), the Michelin X-Light (lighter and softer) or the Dunlop D803GP.
We also take advantage of this article to remind you
of the steps to change the rear tire of a trial bike
. A simple operation if we use the appropriate tools.

Tools for Trial Tires
1.- Pressure gauge for trials or pressure
gauge for trials
and enduro
2.-
Quick Wheel Valve Plugs
3.-
Trial tubeless tyre repair kit
4.-
Front camera for trial bikes
5.-
Rear Trial Tire Bead Breaker
6.-
Mousse mounting tubeless tires